
Divi by default only lets background videos play in a loop. But sometimes you might not want that.
But with the help of a little bit of code this is not an issue to realize.
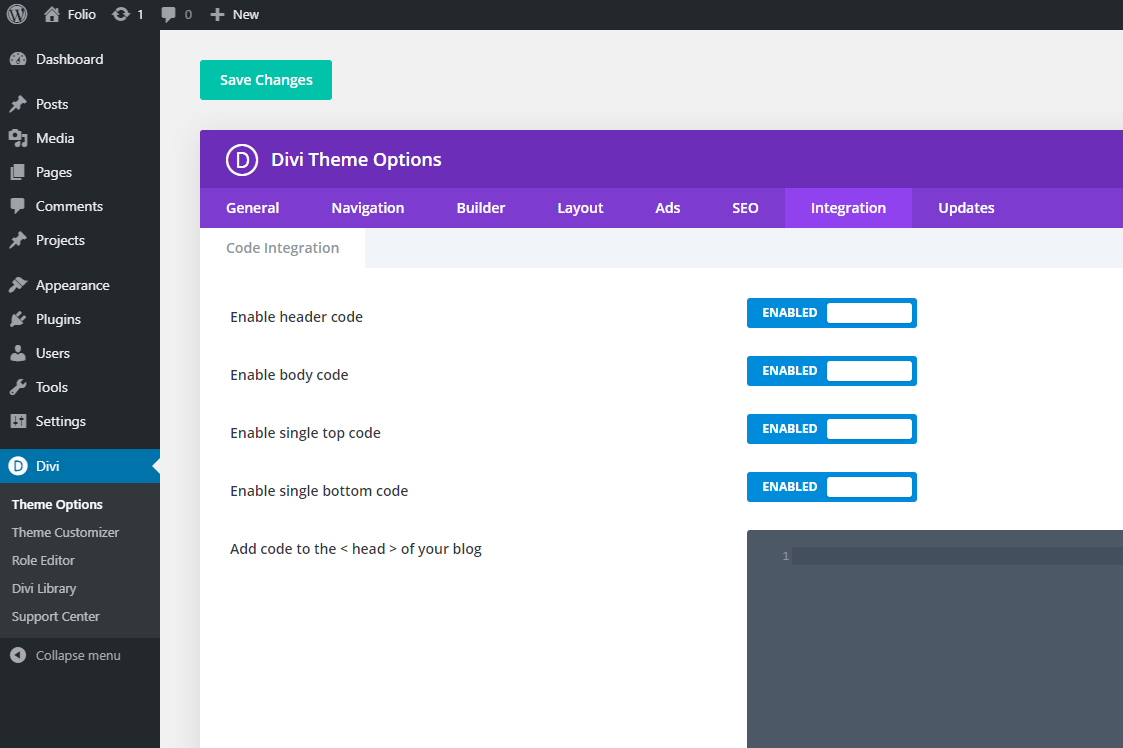
Simply go to your Divi Settings -> Integration:
(Don’t worry, if you have the Hype plugin or a newer version of Divi installed, you might see slightly different colors.)
Then you scroll down to “Add code to the < body >”.
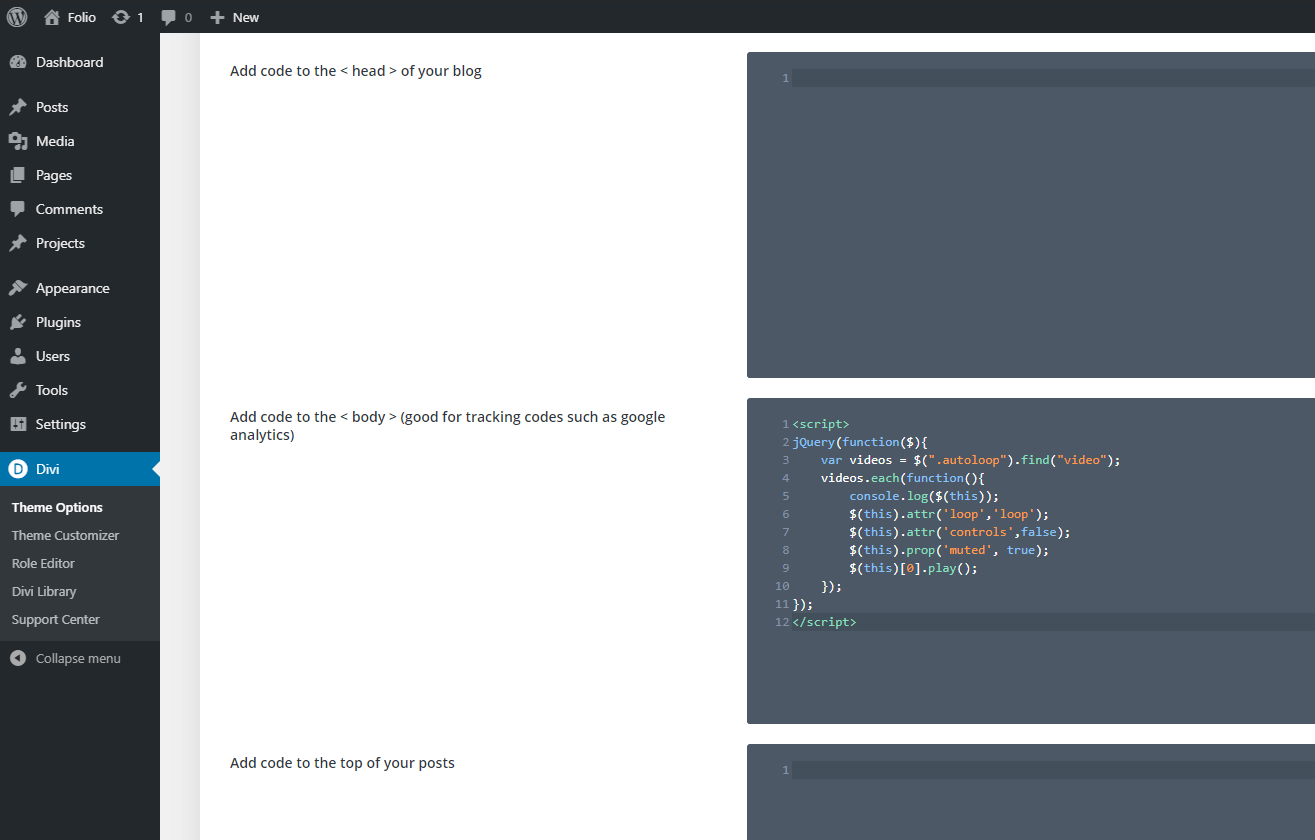
And this is the code that you want to add (cause of Safari iOS issues there are some more lines than in the screenshot, do not delete them):
<script>
jQuery(function($){
	var videos = $(".autoloop").find("video");
	videos.each(function(){
		console.log($(this));
		$(this).attr('loop','loop');
		$(this).attr('controls',false);
		$(this).prop('muted', true);
		$(this).prop('playsinline', true);
		$(this).prop('playsInline', true);
		$(this)[0].play();
	});
});
</script>
Now you either scroll to the top or bottom of the page and hit the “Save Changes” button.
What this code does is that it looks for all videos on a page with a specific class name, and it will change the settings of the video so that is plays automatically, loops (it also needs to be muted for that), and it disables the controls. This way the video on the website will look and behave just like a GIF, but of cause with much better quality and loading time.
To apply the class name to a video module, just open the settings of the module while you are in the Divi Builder.
Switch to the Advanced tab. Open the “CSS ID & Classes” settings. And input the following classname:
autoloop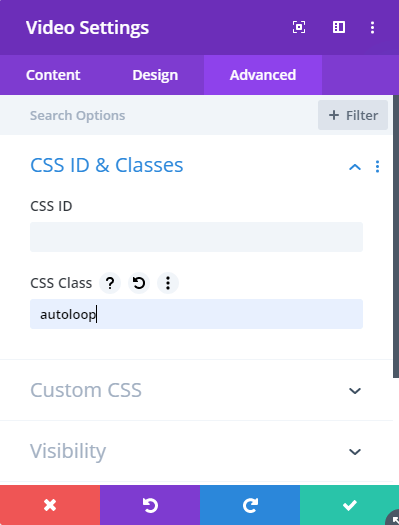
As soon as you Exit the Builder and view the page, you should see how the video/s are now autoplaying and looping.